
Gaming PC Building 101: From Components to Completion!
Gaming PC Building 101: From Components to Completion!
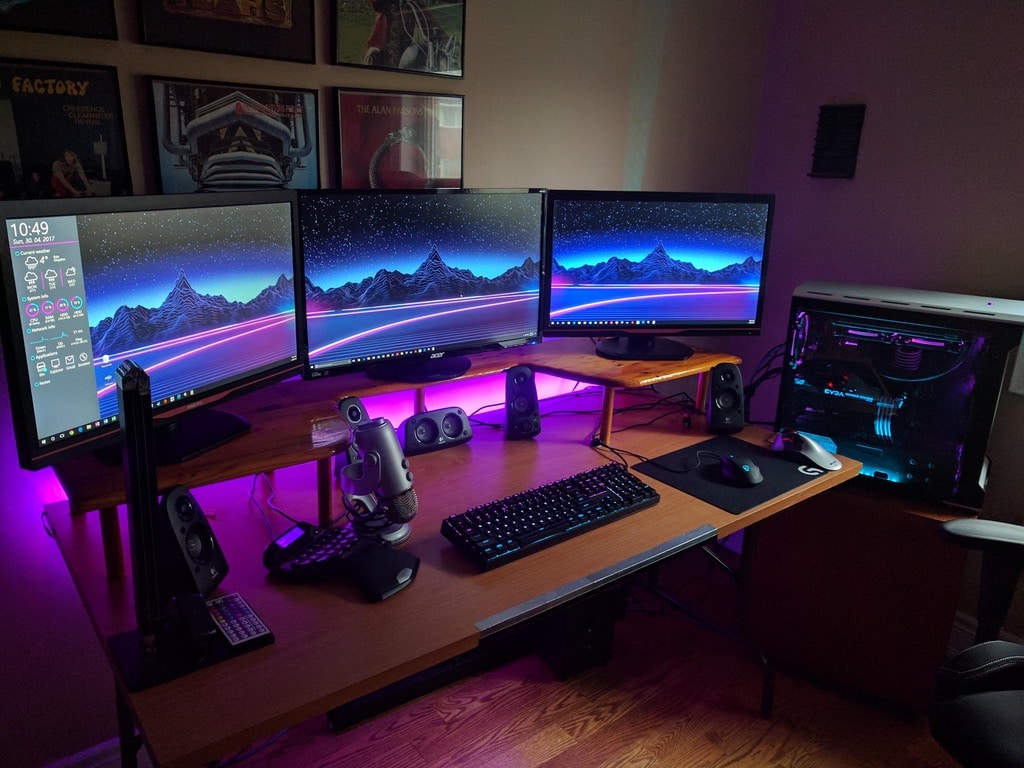
Welcome to the realm of gaming enthusiasts and tech aficionados! The journey of crafting your own Gaming PC is not just about assembling parts; it’s about creating a powerhouse that can elevate your gaming experience to new heights. Join me on this in-depth voyage as we explore the intricacies of building your Gaming PC-from understanding the essential components to meticulously piecing them together, and finally, setting up the ultimate gaming haven.
Demystifying the Components of a Gaming PC
Central Processing Unit (CPU): The heart and brains of your PC, the CPU executes instructions, determining the speed and power of your system. Consider the AMD Ryzen 7 5800X – with its multi-core efficiency, it seamlessly handles multitasking and gaming simultaneously. Its higher clock speeds guarantee smooth gameplay and superior performance across various applications.
Graphics Processing Unit (GPU): The GPU renders visuals and animations in games. Opt for the NVIDIA GeForce RTX 3070 – it strikes a balance between cost and power, delivering impeccable ray tracing capabilities and high frame rates.Enjoy stunning graphics and smooth gameplay across the latest titles
Motherboard: The foundation of your PC, the motherboard connects and coordinates all components. The ASUS ROG Strix B550-F Gaming is a reliable choice. Its robust features accommodate overclocking and provide ample ports for peripherals, ensuring seamless connectivity.
Random Access Memory (RAM): RAM stores data temporarily for fast access. Opt for 16 GB (2*8GB) G.SKILL Ripjaws V DDR4 memory. Its ample capacity facilitates smooth multitasking and ensures optimal performance across games and applications.
Storage: Fast storage ensures quick loading times. Invest in the Samsung 970 EVO Plus 1TB SSD. Its rapid read and write speeds enhance gameplay, while its spacious capacity accommodates your game library and software.
Power Supply Unit (PSU): The PSU converts electricity from the outlet into power your components can use. Choose the EVGA SuperNova 750W 80 Gold for efficiency and reliability. Its headroom supports future upgrades without compromising stability.
Case: The case houses and protects your components. The NZXT H510i Compact ATX Mid-Tower Case offers a sleek design and optimal airflow for efficient cooling. It’s cable management options ensure a tidy interior.
Cooling: Efficient cooling is crucial for component longevity. The Cooler Master Hyper 212 RGB offers effective heat dissipation, keeping temperatures in check during intense gaming sessions.
Operating System: The OS is the interface between you and your PC. Windows 10 Home provides a user-friendly platform for gaming and productivity. Its compatibility ensures smooth operation across various software and games.
Building Your Gaming PC
Preparation: Gather your components, tools like screwdrivers, and an anti-static wristband to prevent static discharge.
CPU and Cooler Installment: Carefully place the CPU into the socket, ensuring proper alignment. Secure the cooler, applying a small amount of thermal paste for efficient heat transfer.
Motherboard Installation: Position the motherboard inside the case, aligning it with standoffs to prevent contact with the case. Secure it in place.
Ram Installation: Insert the RAM sticks into designated slots. Gently press down until they click into place, ensuring a secure connection.
Storage and PSU Installation: Mount the SSD in its slot and connect SATA and power cables. Install the PSU and attach necessary cables for components.
GPU Installation: Insert the GPU into a PCIe slot, securing it with screws if required. Connect power cables from the PSU to the GPU.
Cable Management: Route cables neatly, using cable ties and channels provided by the case for efficient airflow and aesthetics.
Case Panel and Testing: Close the case and secure all panels. Power on the PC to check if all components are functioning correctly. Enter BIOS settings to ensure proper recognition of hardware.
OS Installation: Install Windows from a USB drive, following on-screen prompts. Select your preferred settings and create user accounts.
Driver and Software Installation: Download and install drivers for your components from manufacturers’ websites. Install necessary software and programs.
By understanding the purpose of each component and meticulously following step-by-step guide, you’re well on your way to crafting a gaming masterpiece that aligns with your preferences and performance needs. The journey of building a Gaming PC isn’t just about creating a powerful system; it’s about creating a personalized platform that can handle the immersive experiences you seek. As you embark on this exciting endeavor, embrace the knowledge that you’re not only constructing a gaming rig but also acquiring the skills to become a master of your gaming domain. So, grab your components, let your creativity flow, and immerse yourself in the exhilarating world of Gaming PC building.
How much does this usually cost with every component included